Roasted Veggie Pasta

After coming back from Europe, my stomach needed a serious break from heavy food.  So, I went in search of a recipe with roasted veggies, whole grains, and no meat and came across this.  Perfect weekday meal.  Would have been even better with a crisp wine.

I love any excuse to go to this fruit/vegetable store called The Vegetable Bin in Charleston – awesome produce and even better prices. This recipe has fresh asparagus, zucchini, onion, garlic, and basil.  It calls for the use of canned tomatoes, which i think helps make the sauce “sauce-ier.”  But I’m sure roasting fresh tomatoes would make this recipe even better.  Add whole wheat pasta and a little bit of freshly grated pecorino, and you have a delicious, easy meal.  (If you want to make this vegan, I ate leftovers without cheese, and I didn’t even miss it.)  After eating this, my husband declared, “You are the master at pastas.”  Pretty good compliment for something without a lot of fat, or even meat.

Roasted Veggie Pasta

  • 2 small zucchini, halved lengthwise and sliced 1/2 inch thick (try to slice to the thickness of the asparagus, so they will cook uniformly)
  • 1 bunch asparagus, trimmed and cut into 2-inch pieces
  • 3 tablespoons extra-virgin olive oil
  • Salt, freshly ground pepper, and Italian seasoning
  • 1 small onion, diced
  • 3 cloves garlic, minced
  • 1 28 -ounce can diced tomatoes
  • 1/4 – 1/2 cup grated pecorino romano or parmesan cheese, plus more for topping
  • 12 ounces whole wheat spaghetti
  • 1/2 cup chopped fresh basil

Preheat the oven to 425 degrees F. Bring a large pot of salted water to a boil.

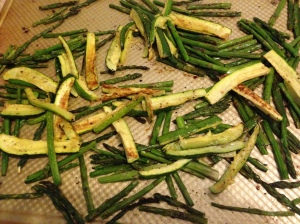
Meanwhile, toss the zucchini and asparagus with 1 1/2 tablespoons olive oil on a rimmed baking sheet; season with salt and pepper. Roast until tender, about 20 minutes.

IMG_8161

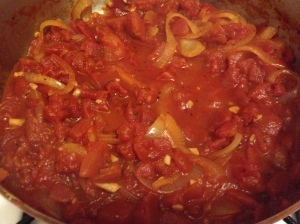
Heat the remaining 1 1/2 tablespoons olive oil in a large skillet over medium heat. Add the onion; cook, stirring occasionally, until softened, about 8 minutes. Add the garlic and cook 30 more seconds. Increase the heat to medium high, add the tomatoes and simmer, stirring occasionally, 15 minutes.  Season to taste, adding salt, pepper, and Italian seasoning.

IMG_8162

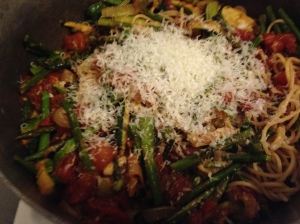
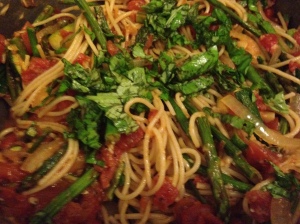
Meanwhile, add the spaghetti to the boiling water and cook as the label directs. Reserve 1/2 cup cooking water, then drain the pasta and add to the skillet with the sauce. Add the roasted vegetables and the reserved cooking water; toss to combine.  Finally, stir in the cheese and basil.

IMG_8164

IMG_8165

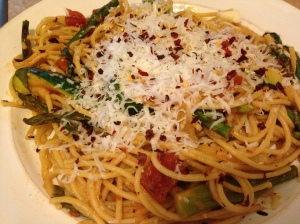
When serving, top with additional cheese (and red pepper flakes for us!) if desired.
IMG_8166

Cauliflower “Cream” Sauce over Rice

You’ve probably already pinned this recipe – it is definitely going Pinterest-viral right now.  This recipe is Pinch of Yum’s Creamy Cauliflower Garlic Rice.  She also uses the same sauce to make other stuff, like Pasta Alfredo.

No, it is not a low-carb recipe for rice that is actually grated cauliflower.  It is actual brown rice with a faux cream sauce.  We’ve all been duped by low calorie cream sauces that just leave a literal bad taste in our mouths.  This one, though… this one is something special.  The sauce ingredients: cauliflower, vegetable broth, a little milk (which can be left out if you don’t want the dairy), and seasoning.

I kept test-tasting the sauce throughout the process of cooking and was thoroughly unconvinced this sauce was gonna successfully masquerade as anything other than cauliflower.  When I sat down to eat, I was surprised – it was quite good.  BUT, when I ate leftovers the next day andddd the day after that, I was in absolute health heaven.  As in, you have no idea that it’s healthy.

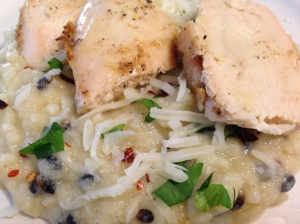
In addition to the sauce, you use whole grain rice, garlic, a little bit of butter, and part-skim mozzarella cheese (again, this would still be delicious if you made this dairy-free).   I only used 4 cloves of garlic, less than the original recipe called for, because some reviews said it was overly garlicky – this was a big mistake.  I will definitely use a full 8 cloves next time.  You can top this dish with some protein – I added sliced chicken breast.

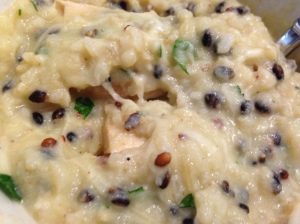
I do recommend letting this recipe sit for hours before eating for the best taste.  As the cauliflower sauce sits with the rice, it tastes less and less like.. well, cauliflower.

Creamy Cauliflower Garlic Rice – from Pinch of Yum

  • 6-8 cups chopped cauliflower
  • 4 cups vegetable broth + 2 cups water
  • ½ cup milk
  • 1½ cups brown rice blend
  • Salt, ground black pepper, cayenne pepper
  • 2 tablespoons butter
  • 6-8 cloves minced garlic
  • ½ cup part-skim Mozzarella cheese for topping
  • Protein for topping (I added sliced chicken breast)
  • Parsley for garnishment

Cook the rice according to package directions. Set aside.  Bring the vegetable broth and water to a boil in a large pot. Add the cauliflower and boil for about 10 minutes, until tender. Save the broth when straining.

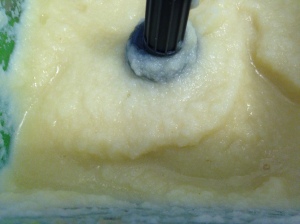
Transfer cauliflower pieces to a blender or food processor.  Add milk and a couple of cups of the broth/water mixture you saved to the blender.  Puree the cauliflower, adding any additional vegetable broth required to get a smooth, creamy consistency.

IMG_7122

Season the sauce heavily – salt, pepper (I use black and red pepper).  Pour over the cooked rice and stir to combine.  Try to let this mixture sit for awhile, as it gets better the longer it melds.

In a large nonstick skillet, melt the butter and add the garlic, sauteing over low heat until the garlic is fragrant, about 3 minutes. Add the creamy rice mixture and stir until butter and garlic is incorporated. Stir cheese throughout the rice to get it melted.

Season with additional salt and pepper to taste.  Serve topped with sliced chicken breast and parsley (as well as any additional cheese you may want to sneak in).  Enjoy – and SAVE LEFTOVERS!

IMG_7127
IMG_7125

Salsa Verde Burgers

My goal when cooking low-fat foods is that no one knows it is low-fat.  I simply do not come from a family where we enjoy munching on broccoli or kale.  Just make me think the food is bad for me, please!  Perfect example – these burgers I made this week from Skinny Taste – in my opinion, the best site for healthy recipes on the whole of the internet.

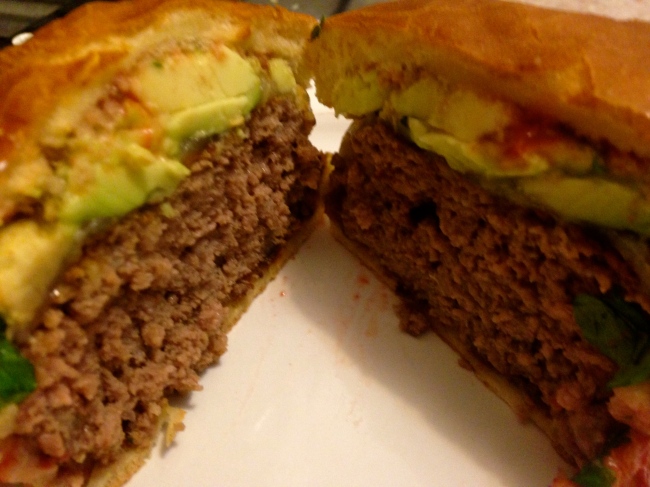
These are so easy to make – especially since I use jarred salsa (Mom, don’t shake your head at me).  You add no binding or sauce to your ground beef.  Just mold your patties, slightly season, and grill it up.  The addition of melty cheese, avocado, and salsa ensure that your low fat ground beef does not come off as dry.   I haven’t been able to get these burgers off my mind!

Salsa Verde Burgers – makes 4 burger, head on over to Skinny Taste for nutritional information

  • cooking spray
  • salt and pepper, to taste
  • 4 (93% lean) beef patties, 4.75 oz each
  • 1/2 cup salsa verde, homemade or store bought (I used Herdez brand, leftover from some enchiladas I previously made).  If you do use store-bought, add some fresh cilantro or chopped onion or jalapeño – something to make it taste less “out of a bottle.”
  • 4 slices Sargento reduced fat pepper jack cheese
  • 4 hamburger buns
  • cilantro, optional
  • sliced avocado (from 1 medium haas)

Form your patties and salt and pepper your beef.  Heat a skillet or grill over high heat. When hot, spray with oil and add the patties. Season with salt and pepper and cook a few minutes on each side, to your desired liking. I made fat and tall burgers since my buns were small, so they took a while to cook.  Add the cheese and cover. Cook to melt, about 30 seconds.

Meanwhile, toast your buns in a hot oven if you’re smart.  After, assemble your burgers by topping the beef and cheese with around 2 tablespoons of salsa verde, a sprinkle of fresh cilantro, and avocado slices.  We also generously added a Mexican hot sauce.  Enjoy!!! And if it’s two of you, anxiously await leftovers.

Image

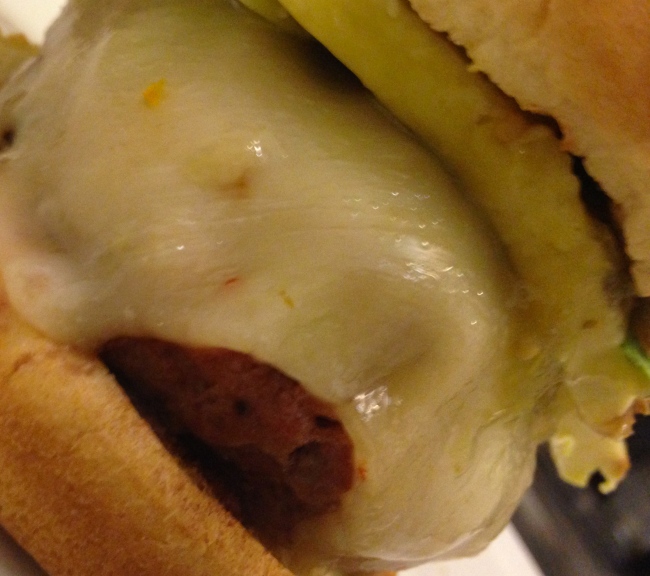
Here’s a side view to really appreciate the melted curtain of cheese.

Image

Crockpot Southwestern Chicken Chili

I made the yummiest crockpot dinner.  A chicken chili that is perfect for fall.  It is my favorite crockpot recipe to-date.  It is also the best chili I’ve made.

The chili has southwestern flavors, shredded chicken, and some added protein by way of quinoa.  No shame in saying I (and my husband) went back for seconds (edit: thirds for husband).  We are looking forward to the leftovers already.

Also, there is no prep work (unless you count draining liquid).  So obviously, it is crazy easy.

Crockpot Southwestern Chicken Chili – from Queen Bee Coupons

Ingredients:

  • 1 cup of quinoa, rinsed
  • 28 oz can of diced tomatoes
  • 14 oz can diced tomatoes with green chilies
  • 2 16 oz cans of black beans, rinsed, drained
  • 15 oz can of corn, drained
  • 3 cups chicken stock (I used broth, which worked fine)
  • 2 large chicken breasts, frozen or thawed
  • 1 tsp garlic powder
  • 2 tsp cumin
  • 1 tsp crushed red pepper
  • 2 tsp chili powder

Put all ingredients into slow cooker and stir to combine.  Cook for 6-8 hours on low, or 4-7 hours on high.  For frozen chicken, it will be on the higher end of time.  Shred the chicken with two forks (if it does shred easily, you will know it is done).

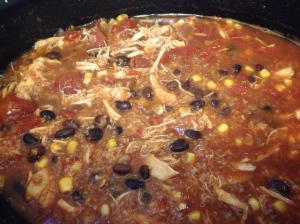
IMG_5780

Serve your chili  with your fave toppings – cheese, sour cream, etc…

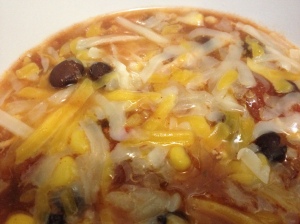
IMG_5778

Enjoy!

Spicy Orange Pork Stir Fry

When I’m looking to cook something healthy with what I have on hand, I almost invariably cook Chinese food.  I have found the yummiest light Chinese recipes on Cooking Light’s website.  My favorite is the orange shrimp stir fry.  Well, I didn’t have shrimp or green onion for it, so I subbed it with pork and chopped onion, and it was still delicious.  I do think I prefer the shrimp, though.

Everyone is crazy about Sriracha now, but I love chile paste with garlic, which is like a concentrated version of Sriracha with red pepper flakes in it.  If you keep that, honey, ginger (which can be frozen), garlic, soy sauce, vinegar, and sesame oil on hand, you will always have the makings for a delish stir fry.

Spicy Orange Pork Stir Fry

  • 1 1/2 pounds of pork tenderloin or deboned pork chop, sliced into strips
  • 1 tablespoon of corn starch
  • 1 medium onion, sliced
  • 1/4 cup fresh juice from orange
  • zest of half an orange
  • 2 tablespoons low-sodium soy sauce
  • 2 tablespoons honey
  • 1 tablespoon rice wine vinegar
  • 1 tablespoon chile paste with garlic (such as sambal oelek)
  • 2 tablespoons canola oil
  • 1 tablespoon minced peeled fresh ginger
  • 3 garlic cloves, minced

Sprinkle pork with cornstarch and toss well to coat. Set aside.

Combine juice, zest, soy sauce, honey, vinegar, and chile paste, stirring with a whisk; set aside.

Heat oil in a large nonstick skillet over medium-high heat.  Add onion; sauté 3 minutes or until tender.  Add your pork, ginger, and minced garlic and saute around 6 minutes or until your pork is cooked through.  Add your juice mixture and cook around 2 minutes until the sauce thickens up.

Serve over rice or noodles!

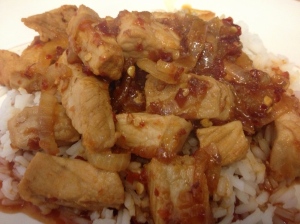
IMG_5766

Balsamic and Honey Glazed Pork Chops

So I wanted to make something for dinner that was healthy but not a “low-fat recipe.”  Specifically, my body needed a break from all the starchy food I’d been eating.  Piggly Wiggly had a sale on pork chops, sooo I went from there.  As an aside, this was my first time at a Piggly Wiggly, and it was quite frightening.  Someone (presumably on drugs) kept yelling at us over the loudspeaker – not a pre-recording list of sales and whatnot, just random phrases, only some of which were actually related to  items in the store.  And I mean yelllling.  I was so nervous trying to get out of there, I felt like I was on supermarket sweeps!  I sure hope this was unique to this particular store.

Anyway, back to porkchops.  I found this recipe originally on saveur.com, entitled Sweet and Sour Glazed Pork Chops.  This recipe, so delicious and so very simple, had a misleading name – I think of “sweet and sour” as Chinese food.  The sweet aspect is the honey and the “sour” part is the balsamic.  It also has a little fresh rosemary, which brings a great flavor to the dish.  Whatever you wanna call it, it is a great healthy weekday meal.  I served mine with parmesan peas.  The husband said to “remember this recipe.”

Balsamic and Honey Glazed Pork Chops

  • 4 pork chops (bone-in would be best, as it stays more moist, but I just got the boneless kind since it was on sale)
  • Extra-virgin olive oil
  • Salt and freshly ground black pepper
  • ⅓ cup balsamic vinegar
  • 2 tbsp. honey
  • 2 tbsp. unsalted butter (the original recipe called for 4 tbsp. butter, but I found that a bit excessive – if you are really skinny, go for 4 tbsp, and I hate you)
  • 1 sprig fresh rosemary, torn into 1″ pieces

Drizzle the pork chops with oil.  Season generously with salt and pepper.  Let pork sit for 30 minutes.  

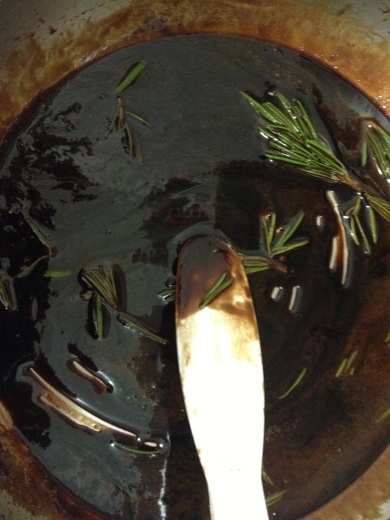
Meanwhile, combine balsamic vinegar and honey in a saucepan and cook over medium heat until reduced to ¼ cup.  This took me about 10 minutes.  You’ll see that the sauce thickens a little when it’s ready.  Stir in butter and rosemary and set sauce aside.

Image

Heat a grill pan on medium-high heat.  (The original recipe wants you to grill this outside.  I would totally do this if I had a grill and wasn’t so lazy).  Add the pork chops and sear each side quickly to get that nice fake-grilledness.  Then, lower the heat to medium and baste your chops with your yummy sauce until the pork is cooked through.  The amount of time will obviously depend on the thickness of your chops and whether the chops are bone-in or not.  Mine, the cheapo kind, took only a few minutes to cook through.  A google search showed me that pork should have at least an internal temp of around 145 to 160 degrees, if you want to go that route to be sure.

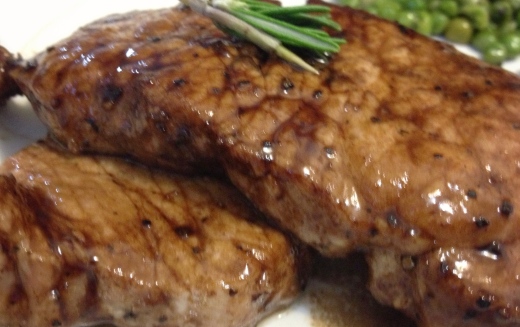
The pork is now done! Make sure you’ve basted all the sauce onto your chops, and remove from heat.  Garnish with rosemary, if desired.

Image